How It's Made
At Deadbeat Devil, we share an appreciation for craft and handmade items. Sustainability is also a big part of our mission and we aim to keep our brand a majority eco-friendly business.
Since our items are handcrafted, many people are interested in the process of how exactly things are made. We think it important to share this since it also helps people understand why certain items might be priced higher than others.

SilkScreening
I fell in love with silkscreening during my time at art school. However there is a barrier to entry to this medium. Screens are often expensive, and for someone who enjoys having a library of images to play with, this can be a hard to navigate. Ultimately matly, I found that I could build my own screens, which not only help to reduce waste, but also allowed me to have over 20+ screens for very cheap.
Since I am in a community of a lot of artists, I find that a lot of people end up throwing away old canvases. Even if you don't live near an art college, I've found used canvases very cheaply from used art stores, thrift stores, and yard sales.
After getting the canvas, you rip off the actual canvas part (the fabric part). What you're really after here is the wooden frame.
Now with your fresh wooden frame, you need to acquire silkscreen mesh. I have seen people use pantyhose for small screens, but if you want crystal clear images it's important to use mesh specific to screen printing. I pick up mine from a local art store, but if you don't have a provider near you, you can find it online from numerous websites.
While you're out getting materials, other things needed to build a screen would be a hammer, staple gun, staples for said gun, duct tape, and hearing protection.
For the mesh count (80, 110, 160, 200 are ones you can usually find), I tend to stick with 110. The lower the mesh count, the less detail the screen can hold. However, the higher the mesh, the more detail but less ink gets pushed through. I prefer to print on fabric, hence why I like 110. I allows me to get a good amount of detail as well as ink onto the fabric I'm printing. For paper, the higher mesh counts are better, since you don't want to get your paper super wet with ink.
Now that you have everything, you can start building. You'll want to cut down your mesh, leaving a couple inches on each side so that it's easier to grab and stretch. Just like the canvas that was once on the wooden frame, you want to stretch this mesh tight as possible. Start with one side, putt the staples in a 45 degree angle, every inch and a half or inch. You want to staples to be placed at an angle, since it helps to distribute the pull on the mesh fabric on different wefts. This part can be loud, so I use noise canceling headphones, but you can use normal earplugs to protect your ears.
Now, you technically have a working silkscreen, but you might want to do these next steps for the sake of prolonging your screen's life. Because the frame is made of wood, you'll want to apply duct tape to any pieces of exposed wood, since if left uncovered, it could warp and rot over time. The duct tape also makes for an easier clean up, since water will run off it, rather than being absorbed by the wood.
Stapling the first side is pretty easy, since you don't have to stretch anything yet, but now you'll want to move to the opposite side from the one that was just stapled.
A tip I have helped me to stretch the mesh while saving myself from a bunch of hand pain is to utilize the edge of the table. I like to put the edge of the wooden frame lined up with the edge of the table beneath it, then I take the mesh and pull it almost straight down. I use the palm of my hand to grasp it and my fingers will be on the underside on the mesh, with allows me to use my body weight to stretch it, rather than just my arms/wrists/hands. Now that you're holding the mesh tight, you want to repeat the stapling process, placing 45 degrees every half inch or inch.
The process is then repeated for the last two sides, then you'll have the mesh stretched on your frame. You can trim down the excess mesh, just don't get too close to the staples since you don't want the pressure to cause the mesh to fray. If there are any wonky staples hammer them down.

Now, you have a completely working screen! You just need a way to get an image on there.
Here are some methods:
Stencil: You can make a stencil with something as simple as paper, this is great for simple shapes or blocks of color. The downside is that the paper will only last for one printing session, since the ink will get it wet.
Vinyl:
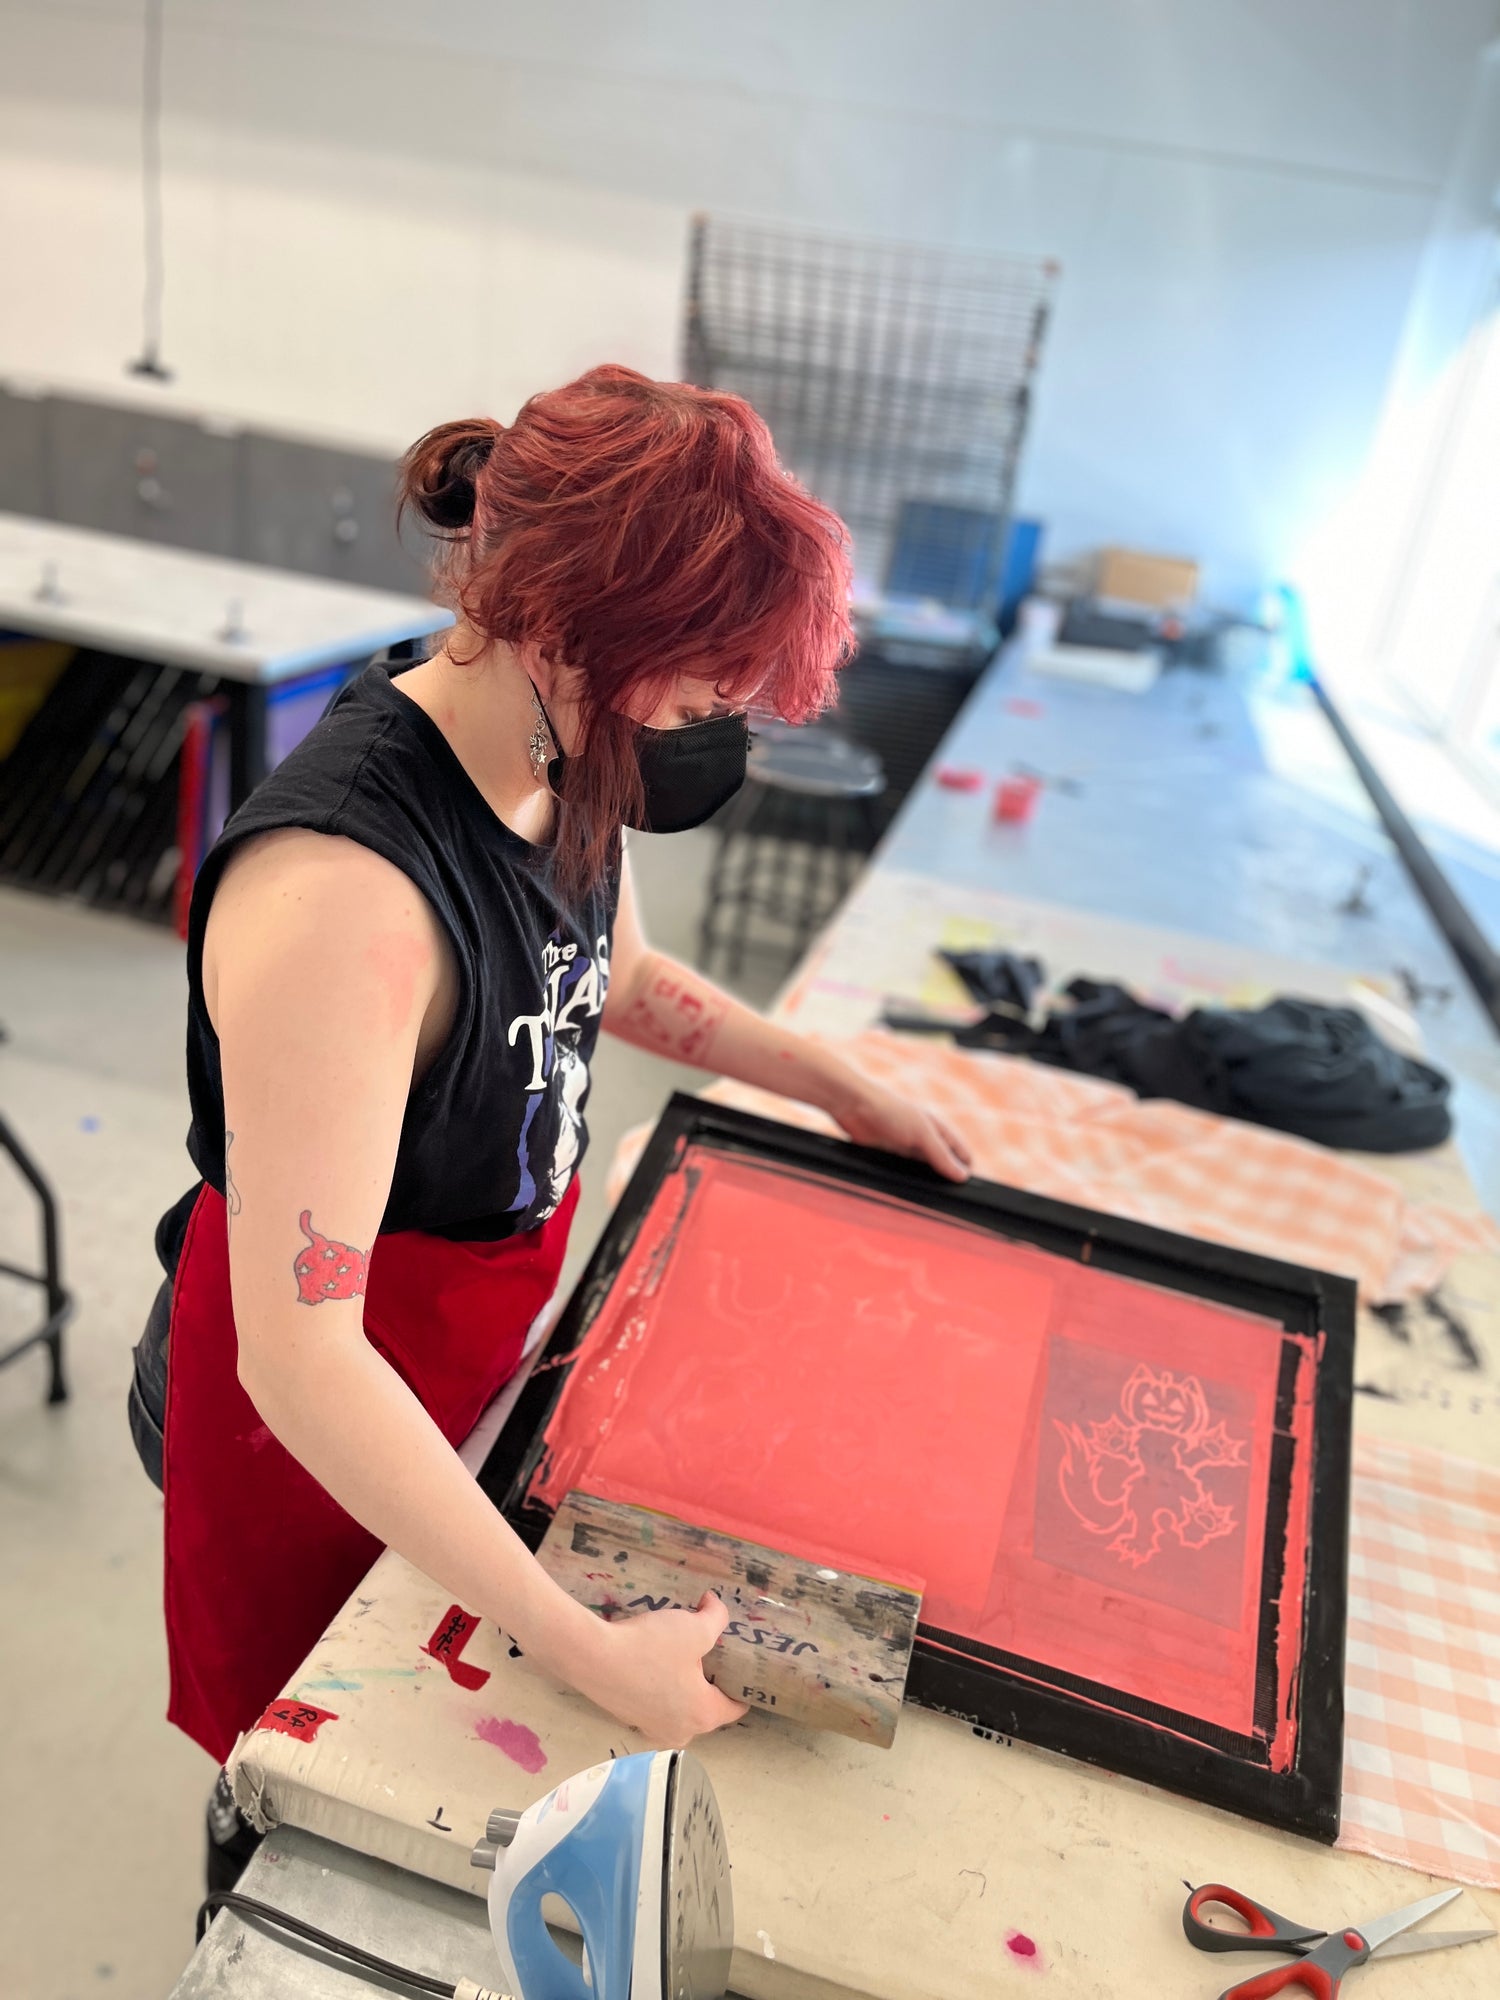
This is like a stencil but elevated. You can use normal sticker vinyl for a one time print, or if you want to use it repeatedly, you can use Heat Transfer Vinyl and iron it onto your screen, which will last until the vinyl breaks down or comes off. You can cut this material by hand, but I use cutting machines like a Cricut or a Silhouette, which allows me to make more complicated images.
This I love this way of getting images on screens, but there is a higher barrier to access for it. At the art school I attend, we have places like darkrooms and vacuum sealed UV light boxes, which makes the process super streamlined. However this is your situation if you are luckily, but there is a way to do this at home. There are photo emulsion bottles you can get from arts and crafts stores. You can either use a UV light bulb, or simply the sun. When I was doing this at home, I ended up using the sun, since it was summer and the UV index was already high. If you do this method, place a piece of glass on top of your screen and photo stencil, the glass will press the image closer to the screen, which gives you a nice crisp image.
